UI reference
This document provides a comprehensive overview of each stage of the BojAI Vexor Applet and describes the available interactive components within them.
Initialization
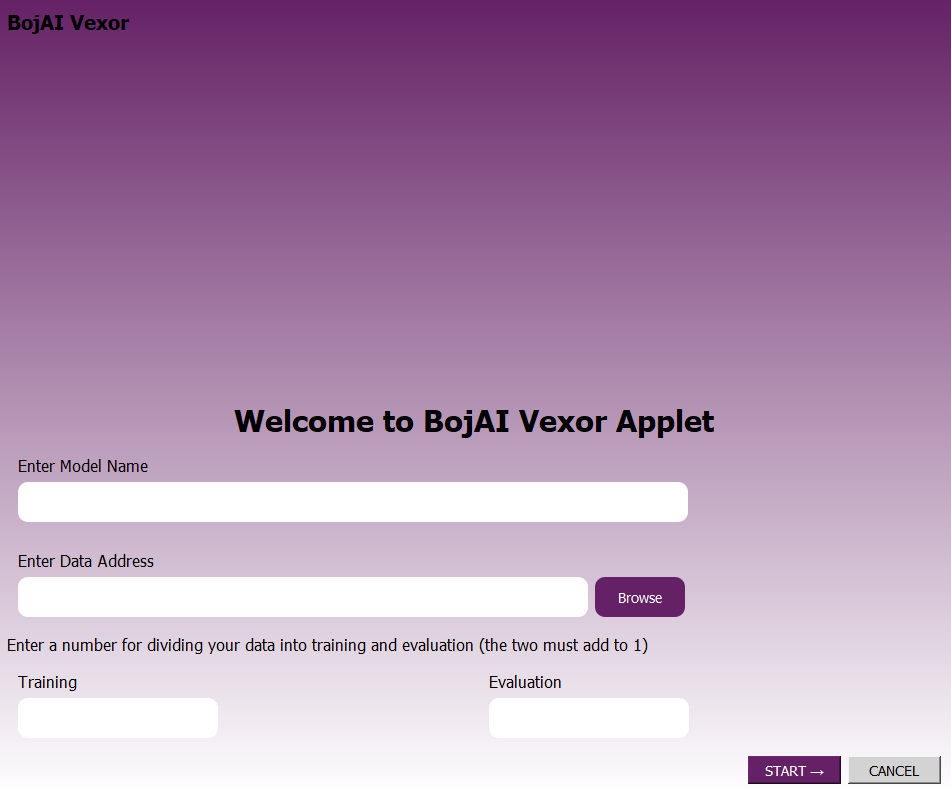
This is the landing screen where users begin the process of model creation and data preparation.
You can find the following buttons and input fields:
- Enter Model Name — Text input to name your pipeline before beginning the training pipeline.
- Enter Data Address — Input field to specify the location of your dataset.
- Browse — Opens a file explorer to choose a dataset file from your local machine.
- Training / Evaluation — Two numeric fields to define the split ratio of your dataset for training and evaluation (must add to 1).
- START → — Proceeds to the Prepare stage using the input model name and dataset.
- CANCEL — Closes the window.
Prepare
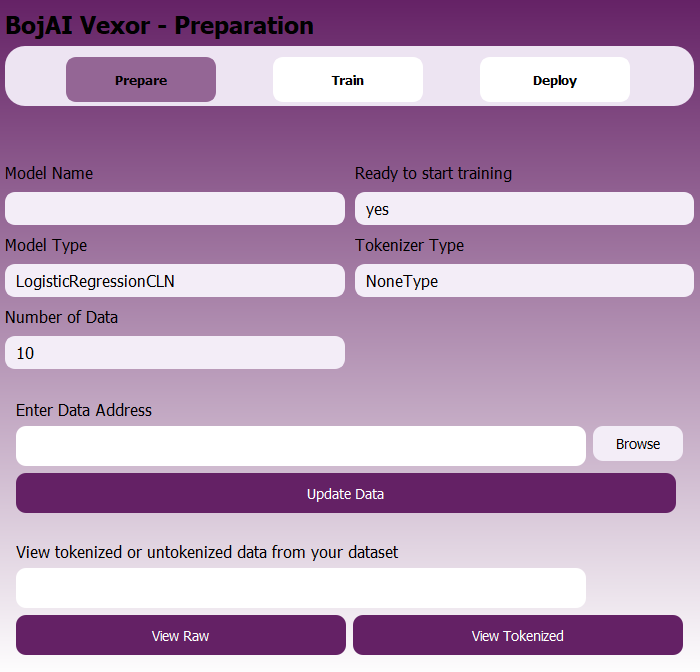
In this stage, users define and load their model and tokenizer types, specify dataset details, and prepare for training.
You can find the following buttons and fields:
- Model Name — The model name, auto-filled from the welcome screen or manually entered.
- Ready to start training — Field that shows whether the data is loaded and pipeline is ready to move to training.
- Model Type — Specifies the model architecture.
- Tokenizer Type — Tokenizer used (e.g., NoneType for models that don’t require it).
- Number of Data — Displays the number of examples detected or specified.
- Enter Data Address — Input field to locate the dataset on your system.
- Browse — Opens the file system to locate your dataset file.
- Update Data — Loads and tokenizes the data, initializing the model.
- View Raw — Lets the user preview the raw dataset before processing.
- View Tokenized — Displays the tokenized version of the dataset for inspection.
Train
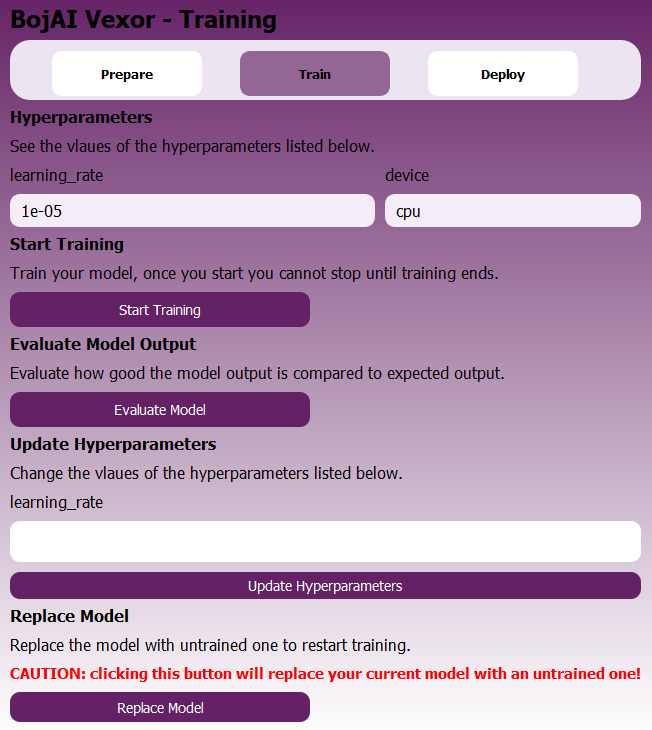
This stage allows users to adjust hyperparameters, train their model, and evaluate performance.
You can find the following buttons and input fields:
- Hyperparameters — Each hyperparameter is shown with its name and value.
- device — Input to specify where the model should train (e.g., cpu or cuda).
- Start Training — Begins the model training loop; cannot be stopped once started.
- Evaluate Model — Evaluates how well the model performs on evaluation data.
- Update Hyperparameters — Lets users update hyperparameters before retraining.
- Replace Model — Replaces the current trained model with a fresh instance. ⚠️ Warning: This will wipe your trained model and start over. Save your training session if you would like to keep the current model.
- Save model — refer to save and load model page for more information.
- Load model — refer to save and load model page for more information.
- Visualize — refer to visualizer page for more information.
Deploy
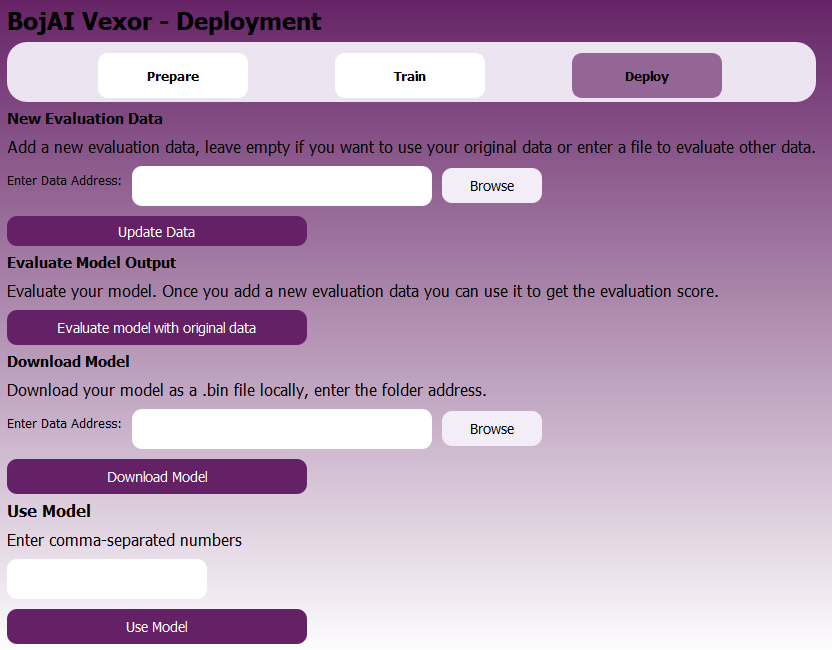
This stage allows users to evaluate the model, download the trained version, and make predictions.
You can find the following buttons and fields:
- Enter Data Address (New Evaluation Data) — Input path to a new evaluation dataset.
- Browse — Opens file explorer to select alternate evaluation data.
- Update Data — Loads the new evaluation dataset.
- Evaluate model with original data — Runs validation using the original data if no new data is provided.
- Evaluate model with new data — Runs evaluation using new data. This is only visible when you upload new data.
- Enter Data Address (Download Model) — Folder path where the trained model should be saved.
- Download Model — Saves the trained model as a
.binfile to the provided address. - Enter comma-separated numbers — Input field to make a real-time prediction using your trained model.
- Use Model — Classifies the input numbers using the trained model and returns the prediction.